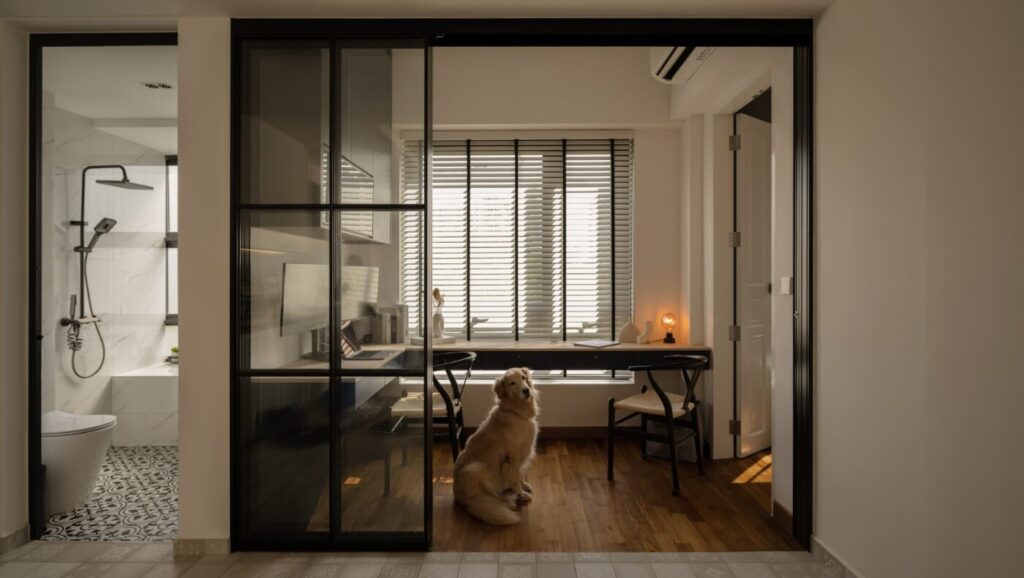
Step By Step Guide (With Checklist & Project Timeline) for Your Home Renovation Project
Home renovation projects are often frustrating, complicated, and complex, whether you are a first-time homeowner or not.
Whether you are getting an ID firm or self-managing your home renovation, as a homeowner, you should always be on top of things and know what needs to happen and when it needs to happen to keep the project on track.
That’s why our team at Redbrick Homes thought that a step-by-step guide (complete with checklist & project timelines) will come in handy to help you avoid unnecessary stress during the process.
Checklist: 5 Must-Dos to Get Your Home Renovation Started
1. Determine Your Budget
Before you dive head into any home renovation budget, small or big scale, make sure you have set aside a realistic budget for it before you begin.
Trust us when we say you don’t want to be caught off-guard halfway through the renovation process when you realize you don’t have enough money for the next phase of renovation works.
2. Design & Plan
Like any other major project, you will need a plan to get started. So, once you settle on a budget that you can afford, it’s time to sit down and discuss with your interior designer your preferred style for the home.
Now is when you decide on how you want your home to look like, and also based on your budget, make the necessary decisions on what areas are priorities and what may need to be cut from the design.
Once you have the 3D designs and floor plans approved, your project is ready to get started!
3. Get Approvals & Permits
Before you begin any form of renovation in your home, you’ll need to apply for approvals and permits from HDB!
This is HDB’s way of ensuring that only properly licensed and qualified professionals are performing these renovation works for the safety of everyone involved.
If you engage a contractor or interior design firm, you can authorise them to apply for these permits on your behalf, otherwise, you will need to apply for them yourself via the HDB portal.
4. Purchase Fittings & Fixtures
While you’re waiting for the permits to begin any work, this is the perfect time to go through the floor plans and designs with your designer and start purchasing all the required fittings & fixtures.
This includes everything from picking out your choice of flooring materials, laminates for your carpentry, and plumbing fixtures to your home appliances.
You want to do this ahead of time as you want to have them all available when renovations works are approved so that there is no delay in waiting for materials or fixtures to arrive.
5. Create An Effective Project Timeline
Usually done by the project manager of the interior design firm, by this stage, you should have a clear project timeline with all the sequence of works.
This is important so that you can keep track of the progress of the project and be able to provide inputs and feedback at appropriate timings to keep things going.
Home Renovation Project Timeline: The Proper Sequence of Works
For any home renovation project, there are usually many different work streams (some concurrent, some dependent on another).
For first-timers who may not be familiar with the sequence of work, here’s a quick overview of what a general renovation project timeline should look like.
1. Site Protection & Hacking Works
The first thing that should be done at the very beginning of any renovation work is to ensure that safety measures are put in place. This is to protect parts of the home that is not undergoing renovation works from damage (e.g., impact, spills, dust, etc.).
Once all that is sent up, hacking work and debris removal are usually the next to commence. This way the “canvas” is now set up for all subsequent works.
2. Air Conditioning & Electrical Works
The next step would usually be to get the systems set up in the house – two of the most important being the air conditioning and electrical works.
Do note to remind your ID to ensure that the air conditioner is appropriately protected after being installed to prevent damage from subsequent painting works. Alternatively, some IDs will install the piping first, and follow up with the installation of the air conditioning unit only after painting is complete.
3. Flooring & Tiling Works
Next up will be flooring and tiling works – usually with the sequence being to lay all the flooring for the living room, to the rooms, followed by the wet areas like the kitchen and bathrooms.
Once that is done, then wall tiling works (if required) will commence for the wet areas too.
Tip: Always make sure the flooring is protected after completion to avoid any damage from subsequent workstreams.
4. False Ceiling / Partition Works
If you have any false ceiling or drywall partition works in your design, this would then using be the next step.
5. Painting (Walls & Ceilings)
Double-check to ensure all the areas adjacent to surfaces that require painting is protected before going ahead with this step.
6. Lighting Installation
Once the walls and ceilings are all dry from the multiple coats of paint, it’s time to install all the relevant lighting fixtures to the ready electrical points.
7. Plumbing & Sanitary Fittings
Next up is plumbing & sanitary fittings for all the wet areas in the home which include the kitchen and bathrooms.
8. Carpentry Fabrication & Installation
Carpentry fabrication & installation is usually done after the plumbing and sanitary fitting to allow for ease of access.
9. Finishing Works & Chemical Cleaning
With almost all the works complete, it’s time to do the final touch-ups, and finish up the project with a round of chemical cleaning to get the place clean and ready to move in.
10. Defect Checking & Rectification
Make sure to allocate time to check through the home for defects and inform your contractor or interior design firm to make the necessary rectifications.
Embark on Your Home Renovation Journey with a Trusted ID!
Want a peace of mind as you embark on your complex renovation home journey? Make sure you find a trusted partner to be there with you every step of the way.
Find your trusted interior design partner today with IDMate – a local interior design firm matching service for homeowners like you.


